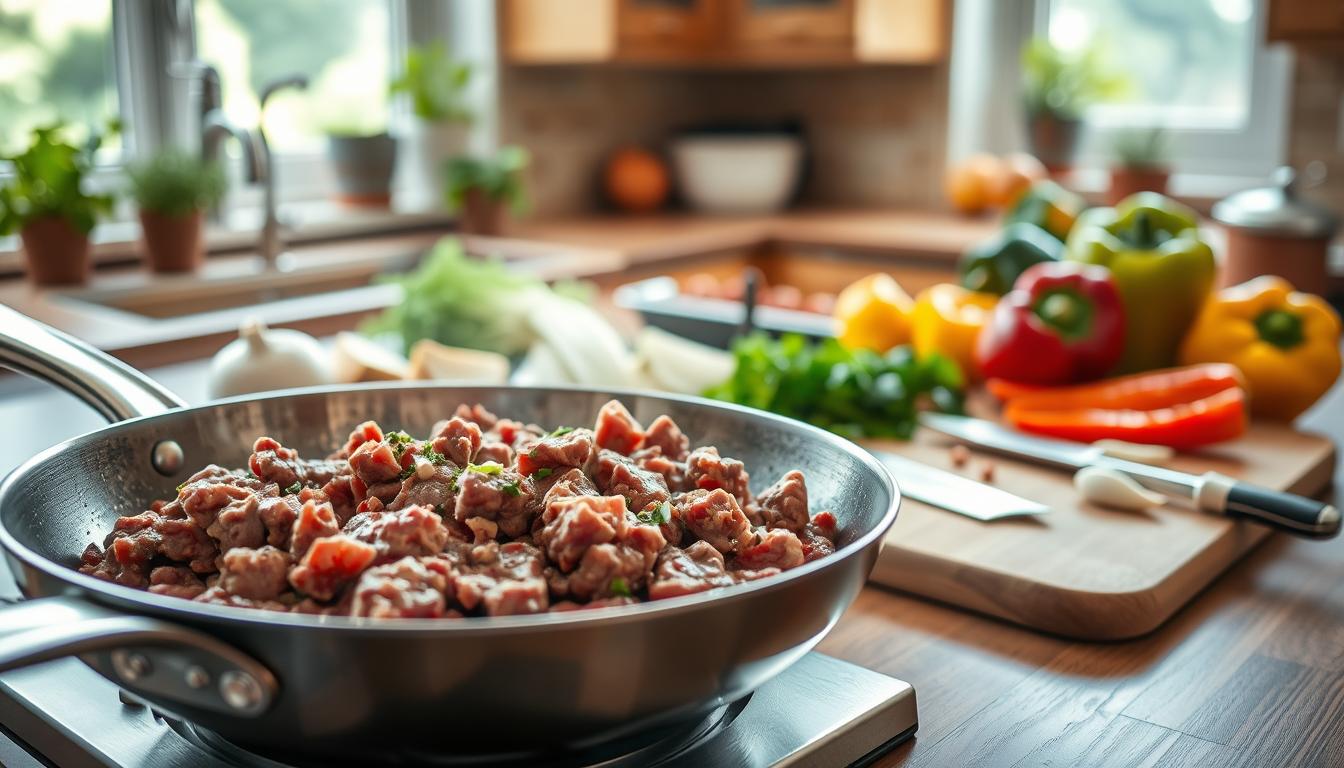
I was in my kitchen years ago, staring at a package of meat. I felt completely uninspired. Like many home cooks, I often treated this staple ingredient as an afterthought. This led to bland, gray crumbles that lacked any real character. Everything changed when I mastered the art of browning. Learning the best way to prepare ground beef is a game-changer for anyone looking to elevate their daily cooking routine.
When you understand how to brown ground beef correctly, you unlock a world of savory flavors. It’s not just about cooking the protein; it’s about creating a deep, caramelized foundation. This makes every dish shine. Whether you’re planning a quick weeknight dinner or focusing on ground beef meal prep for busy days, these simple techniques ensure professional results with minimal effort.
If you’re wondering about the perfect flavor profile, you can explore what spices go well with ground to add depth to your creations. By focusing on these small, intentional steps, you can transform a basic ingredient into a delicious masterpiece that your family will love.
Key Takeaways
- Always start with a hot skillet to ensure proper caramelization and flavor development.
- Avoid overcrowding the pan to prevent the meat from steaming instead of browning.
- Layer your seasonings gradually to build a complex and balanced flavor profile.
- Deglaze the pan with a splash of liquid to capture all the savory browned bits.
- Mastering these techniques makes your weekly meal planning much more efficient and tasty.
Understanding the Basics of Quality Ground Beef
The quality of your ingredients is key to a great meal. At the market, I look for certain signs to ensure my dish is tasty and safe. By following these cooking ground beef tips, you can avoid common mistakes and improve your cooking.
Selecting the Right Fat-to-Lean Ratio
Choosing the right ground beef fat-to-lean ratio is critical for flavor and moisture. I prefer an 85/15 blend for most recipes. It keeps the meat juicy without being too greasy.
If you pick a leaner ratio, your meat might end up dry and crumbly.
The table below shows how different ratios affect your cooking:
| Ratio (Lean/Fat) | Best Use Case | Texture Profile |
|---|---|---|
| 80/20 | Burgers and Tacos | Very juicy and rich |
| 85/15 | Pasta Sauces and Chili | Balanced moisture |
| 90/10 | Lean Meatloaf | Firm and dense |
Freshness and Storage Best Practices
When shopping, check the packaging for damage or leaks. I avoid meat that’s turned gray, as it may be old or handled poorly. Fresh beef should be a vibrant, cherry-red color.
Proper ground beef storage tips are important for keeping it safe at home. Store it in the coldest part of your fridge right away. If you won’t cook it in 24 hours, freeze it to keep it fresh and prevent bacteria.
Essential Tools for Perfect Ground Beef Preparation
Choosing the right gear is key to cooking great ground beef. The right tools help the meat brown perfectly and taste amazing. When cooking ground beef in a skillet, the right equipment is essential.
Choosing the Right Skillet or Pan
The size of your pan matters a lot. A 10- to 12-inch skillet is best. It lets the meat spread out evenly.
A small pan can make the meat boil in its own juices. A heavy-bottomed stainless steel or cast iron pan is best. They keep heat well. For more tips, check out cooking ground beef in a skillet on even heat.
Utensils for Breaking Down and Browning
With the right pan, you need the right tools. A wooden spoon or a heat-resistant silicone spatula works best.
These tools are great for several reasons:
- Efficiency: They help break down meat fast.
- Protection: They won’t scratch your pans.
- Versatility: A flat-edged fish spatula is great for scraping up browned bits.
Using the right tools makes cooking easier. They help every batch of beef turn out perfectly.
Preparing Your Workspace and Ingredients
Getting ready for cooking is key. I clear my counter and gather all tools and spices before starting. This organized approach lets me focus on cooking once I start.
Thawing Techniques for Safety and Texture
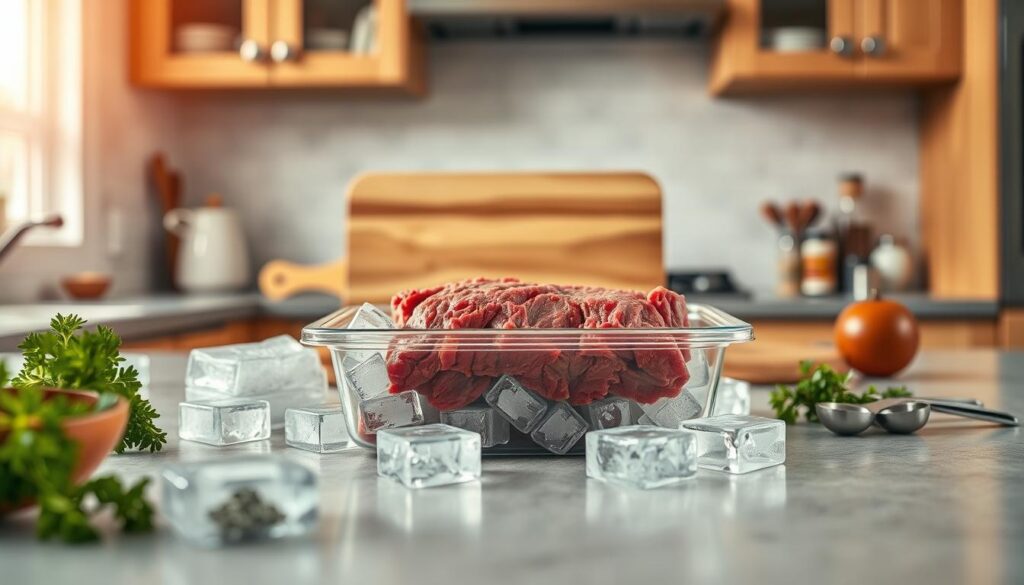
Thawing ground beef safely takes time. I move it from the freezer to the fridge 24 hours before cooking. This slow thaw keeps the meat’s texture better.
If you’re in a hurry, a cold water bath works. Just change the water every 30 minutes. For more kitchen tips, check out these useful insights. Never thaw meat at room temperature to avoid bacteria.
Room Temperature Tempering Before Cooking
After thawing, let the meat sit at room temperature for 15 to 20 minutes. This even cooking helps the meat cook right. If it’s too cold, the outside might burn before the inside is done.
While the meat warms up, I prep my spices and chop my aromatics. Having everything ready stops the stress of looking for ingredients while cooking. Good prep is the base of a great meal.
| Method | Time Required | Safety Level |
|---|---|---|
| Refrigerator | 24 Hours | Highest |
| Cold Water | 1-3 Hours | Moderate |
| Microwave | 10 Minutes | Lowest |
The Best Way to Prepare Ground Beef for Maximum Flavor
Want to know the secret to great ground beef? It starts with understanding flavor chemistry. Many cooks end up with bland meat because they skip the high-heat searing step. By changing your approach to cooking, you can turn simple ingredients into a flavorful dish.
The Science of the Maillard Reaction
The Maillard reaction is key to amazing flavor. It happens when meat’s amino acids and sugars change under heat. This creates hundreds of flavors that give food that distinctive, complex, and savory taste we love.
By browning the meat’s surface, you create a flavorful crust. Without this, your beef won’t have the depth needed for top-notch dishes.
Proper Heat Management for Even Browning
Controlling your stove’s heat is vital to avoid steaming the meat. If the pan isn’t hot enough, the meat’s juices will pool at the bottom. This makes the meat gray and boiled, not caramelized.
Here are key tips for cooking ground beef right:
- Preheat your skillet well before adding meat.
- Don’t overcrowd the pan, as it lowers the temperature too fast.
- Keep the heat at medium-high to keep a steady sizzle.
- Listen for the sound of the sear; if it’s quiet, your pan is losing heat.
Mastering these techniques ensures every bite is full of flavor. Proper heat control makes all the difference between a good meal and a great one.
Step-by-Step Browning Process
When I start cooking ground beef in a skillet, I focus on patience. This is key to getting the perfect texture. Many people rush the process, which stops the meat from searing right.
By taking a step-by-step approach, you can turn simple ingredients into a delicious base for any dish.
Initial Searing and Moisture Control
The first rule is to let the meat sit undisturbed for a few minutes after it hits the pan. This lets the surface get a deep, caramelized crust. This crust adds a lot of flavor to your meal.
If you stir too soon, the meat will release its juices and steam instead of brown.
Keeping moisture in check is a top cooking ground beef tip for home chefs. High heat and not overcrowding the pan help. This way, any liquid evaporates fast. This keeps the flavor in the meat, not in the pan.
Breaking Down the Meat for Uniformity
After the bottom layer gets a nice sear, I use a sturdy spatula to break the meat into uniform pieces. I work in sections, turning the browned bits over. This exposes the raw parts to the heat.
This method makes sure all pieces cook evenly without drying out. It’s a simple trick for a professional result every time.
Seasoning Strategies for Versatile Results
Seasoning is key when cooking ground beef. It turns a simple ingredient into a delicious meal. With the right ground beef seasoning, you can make anything from tasty tacos to hearty pasta sauces. Learning these techniques ensures every bite is full of flavor.
When to Add Salt and Spices
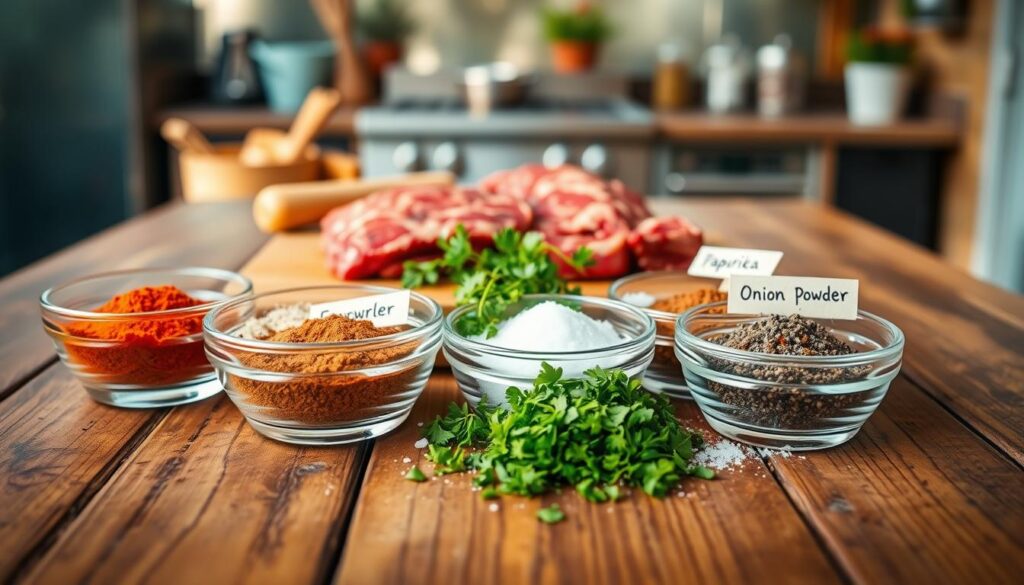
Start with salt early to improve the meat’s texture. Waiting too long can make the salt just sit on the surface. Timing is everything for herbs and spices.
Add dried spices when the meat starts to brown. This lets the spices’ oils release their aroma fully. These cooking ground beef tips help your seasonings blend into the dish perfectly.
Balancing Aromatics Like Garlic and Onions
Aromatics add depth but can overpower the beef if not used right. I sauté onions or garlic before adding the meat. This softens their flavor and creates a sweet base.
For a milder taste, use garlic or onion powder during browning. This gives a consistent flavor that’s great for quick meals. Using these cooking ground beef tips ensures a balanced, professional taste every time.
Managing Excess Fat and Deglazing
To get a restaurant-quality dish, you need to know how to handle excess fat and use the flavorful bits left in your skillet. These cooking ground beef tips will make your home-cooked meals taste like they were made in a restaurant. By controlling the fat, your dish will have the right texture without being too greasy.
Safe Fat Drainage Methods
When cooking ground beef, fat melts and collects at the bottom of the pan. Too much fat can hide the flavors you worked so hard to get. Here are some easy steps to manage the grease:
- Tilt your skillet carefully to one side, allowing the fat to pool away from the meat.
- Use a large spoon to carefully scoop out the excess liquid into a heat-proof container.
- For smaller amounts, place a folded paper towel into the corner of the pan to absorb the oil before discarding it.
Never pour hot grease directly down your kitchen sink, as it can solidify and cause plumbing problems. Let the fat cool and solidify in a jar or can before throwing it away. If you use high-quality beef, you can save the rendered fat in the fridge to add flavor to future roasted vegetables or potatoes.
Deglazing Techniques to Enhance Flavor Profiles
After removing excess fat, you’ll see brown, caramelized bits stuck to the bottom of your pan. This is called fond and is packed with flavor. Learning to deglaze pan for flavor is key to turning a simple meal into something amazing.
“The secret to a deep, complex sauce often lies in the bits of flavor left behind after searing your protein.”
To deglaze, pour a small amount of liquid—like beef broth, red wine, or water—into the hot pan. Use a wooden spoon to scrape the bottom, lifting those delicious browned bits into the liquid. This makes a rich, savory base for your sauces or stews. For more kitchen ideas, check out these easy chicken thigh recipes for beginners to broaden your cooking skills.
Common Mistakes to Avoid During Cooking
If your ground beef often turns out watery or gray, you might be making some common ground beef mistakes. Many home cooks accidentally steam their meat instead of searing it. This results in a bad texture and flavor. Changing your cooking method can greatly improve your results.
Preventing Overcrowding in the Pan
One big mistake is adding too much meat to the skillet at once. This lowers the pan’s temperature and prevents moisture from evaporating. As a result, the meat boils instead of browning.
To get a rich, savory crust, make sure the meat has enough room. Cooking in smaller batches keeps the pan hot. This simple trick is a key cooking ground beef tip for better dishes.
Avoiding the Gray Meat Trap
The gray meat trap happens when the beef is moved too much or cooked too low. It’s important to let the meat sit undisturbed to get a good crust. If you’re unsure if your meat is cooked right, learn how to check to ensure it’s safe and tasty.
To avoid gray meat, keep the heat high and don’t stir too much. Once the bottom is brown, flip it to sear the other side. This keeps your beef flavorful and looks great.
| Mistake | Result | Corrective Action |
|---|---|---|
| Overcrowding | Steamed, watery meat | Cook in smaller batches |
| Constant stirring | Lack of crust | Let meat sear undisturbed |
| Low heat | Gray, bland color | Maintain medium-high heat |
| Ignoring moisture | Boiled texture | Drain excess liquid early |
Creative Ways to Use Your Perfectly Prepared Beef
Having pre-cooked ground beef in your fridge is a big help on busy weeknights. Ground beef meal prep lets you make many tasty dinners. It makes choosing what to cook much easier.
Incorporating Beef into Sauces and Stews
Once your beef is browned, it adds great flavor to dishes. You can add it to marinara for pasta or to chili for a spicy meal. For new ideas, check out ground beef recipe ideas online.
“Cooking is at once child’s play and adult joy. And cooking done with care is an act of love.”
For a simple dish, mix beef with canned tomatoes, beans, and spices. This makes a tender and tasty stew every time.
Quick Meal Prep Ideas for Busy Weeknights
When you’re short on time, quick meals are best. Use one-pot meals with your pre-cooked beef to save on cleanup. This way, you can make tacos, shepherd’s pie, or stir-fries fast.
It’s important to store your ground beef correctly to keep it safe and tasty. Here are some tips:
- Cool the meat completely before placing it in an airtight container.
- Store in the refrigerator for up to three days or freeze for up to three months.
- Label your containers with the date to ensure you use the oldest portions first.
Consistency in storage keeps your ingredients fresh all week. With these tips, you’ll spend less time cooking and more time enjoying your meals.
Conclusion
Learning to brown ground beef is a key skill for any cook. It’s about managing heat, using the right tools, and adding the perfect seasonings. This can make a big difference in your cooking.
This guide should help you make tasty, high-quality beef every time. Remember, small steps in cooking can lead to big, delicious results.
Don’t stop trying new spices and cooking methods. Keep experimenting to find your favorite flavors. Whether you use a Lodge cast iron skillet or a stainless steel pan, you’ll get better with each try.
Share your best recipes and seasoning ideas with others. This keeps the cooking conversation alive. I’m excited to hear about the amazing dishes you’ll make using these techniques.
FAQ
What is the ideal fat-to-lean ratio I should look for at the grocery store?
I suggest looking for an 85/15 fat-to-lean ratio, like Certified Angus Beef. This ratio adds enough fat to flavor and moisten the meat. It prevents your dish from being too greasy.
Why do I need a specific type of skillet for browning meat?
A heavy-duty Lodge Cast Iron skillet or an All-Clad stainless steel fry pan is best. They keep heat well and cook evenly. This is key for a good sear and avoiding tough meat.
How do I prevent my ground beef from turning gray and watery?
Overcrowding can make the meat gray and watery. Use a large pan (at least 12 inches) to give the meat room. If cooking a lot, brown in batches to avoid steaming.
Should I salt the beef before I put it in the pan?
It’s better to add salt and spices once the meat starts browning. Early salting can make the meat wet and prevent a good crust.
What is the safest way for me to thaw frozen ground beef?
Thaw in the fridge overnight for best results. If short on time, thaw in cold water, changing it every 30 minutes. Never thaw on the counter to avoid bacterial growth.
What should I do with the brown bits stuck to the bottom of my pan?
Don’t waste the brown bits, or fond. After browning, deglaze the pan with a liquid like beef stock. Scrape the bottom with a wooden spoon to mix in the flavor.
Can I save the rendered fat for other cooking projects?
Yes, save the fat in a glass jar. It’s great for roasting potatoes or sautéing veggies, adding flavor that oil can’t match.
How can I use meal-prepped ground beef for quick weeknight dinners?
Store browned beef in Glasslock containers. It’s a quick protein for pasta, tacos, or soups. It’s a versatile base for fast meals.