How to Season a Cast Iron Skillet for the First Time (And Actually Get It Right)
Let’s be honest — if you’ve just brought home a cast iron skillet, you’re already thinking like a serious cook. You didn’t grab a non-stick pan off the shelf. You chose something that could outlast your grandchildren. But here’s the catch: that raw, dull-grey pan sitting on your counter? It needs a little TLC before it becomes the workhorse you’re imagining.
Seasoning your cast iron for the first time isn’t complicated, but it does require you to understand why you’re doing what you’re doing. Once you do, the whole process clicks — and you’ll never overthink it again.
First, Let’s Talk Science (Because It’s Actually Cool)
Seasoning isn’t just rubbing oil on metal. It’s chemistry.
When you heat oil past its smoke point on cast iron, the fatty acids in the oil break down and bond with the iron surface. This is called polymerization — the oil literally transforms into a hard, plastic-like layer that fills in the porous surface of the metal. The result? A naturally non-stick coating that’s baked into the pan, not painted on top.
This is why your cast iron skillet, with age and use, becomes better — not worse. Every time you cook, you’re adding micro-thin layers to that surface. That’s the magic of it.
| Feature | Raw Cast Iron | Well-Seasoned Cast Iron |
|---|---|---|
| Surface | Porous and rough | Smooth and slick |
| Rust Resistance | Nearly zero | Very high |
| Food Release | Terrible | Excellent |
| Upkeep | Constant | Easy |
What You’ll Need
The Right Oil
This is where most people get tripped up. Not all oils are created equal for this job.
You want an oil with a high smoke point and high polymerization potential. The top picks are:
- Grapeseed oil — high smoke point, neutral flavor, bonds beautifully
- Flaxseed oil — creates a glass-like, ultra-hard finish (a cult favorite among cast iron nerds)
- Avocado oil — another solid high-smoke option
Avoid: butter, extra virgin olive oil, or lard for seasoning. They have low smoke points and tend to go rancid or stay sticky. Save them for actual cooking.
Your Toolkit
- Lint-free cloths or paper towels (for applying and wiping off oil)
- A stiff-bristled brush (for cleaning)
- Tongs (so you don’t burn your fingers mid-process)
Step 1: Strip It Clean

Brand new pans — even from quality brands like Lodge — often come with a factory coating. It keeps rust away during shipping, but it’s not a cooking surface. You need to remove it before your seasoning can properly bond.
Here’s how to do a proper first-time deep clean:
- Wash the pan with warm water and a small amount of mild dish soap
- Scrub every surface — inside, outside, handle, bottom — with a stiff brush
- Rinse thoroughly with hot water
Yes, soap is fine this once. You’re stripping the factory coating, not your seasoning (you haven’t built one yet).
Then, dry it immediately. Bare cast iron will rust fast — we’re talking minutes if left wet. Wipe it dry with a towel, then place it on a low burner for 2–3 minutes to drive out any remaining moisture. The goal is a completely dry surface before you touch a drop of oil.
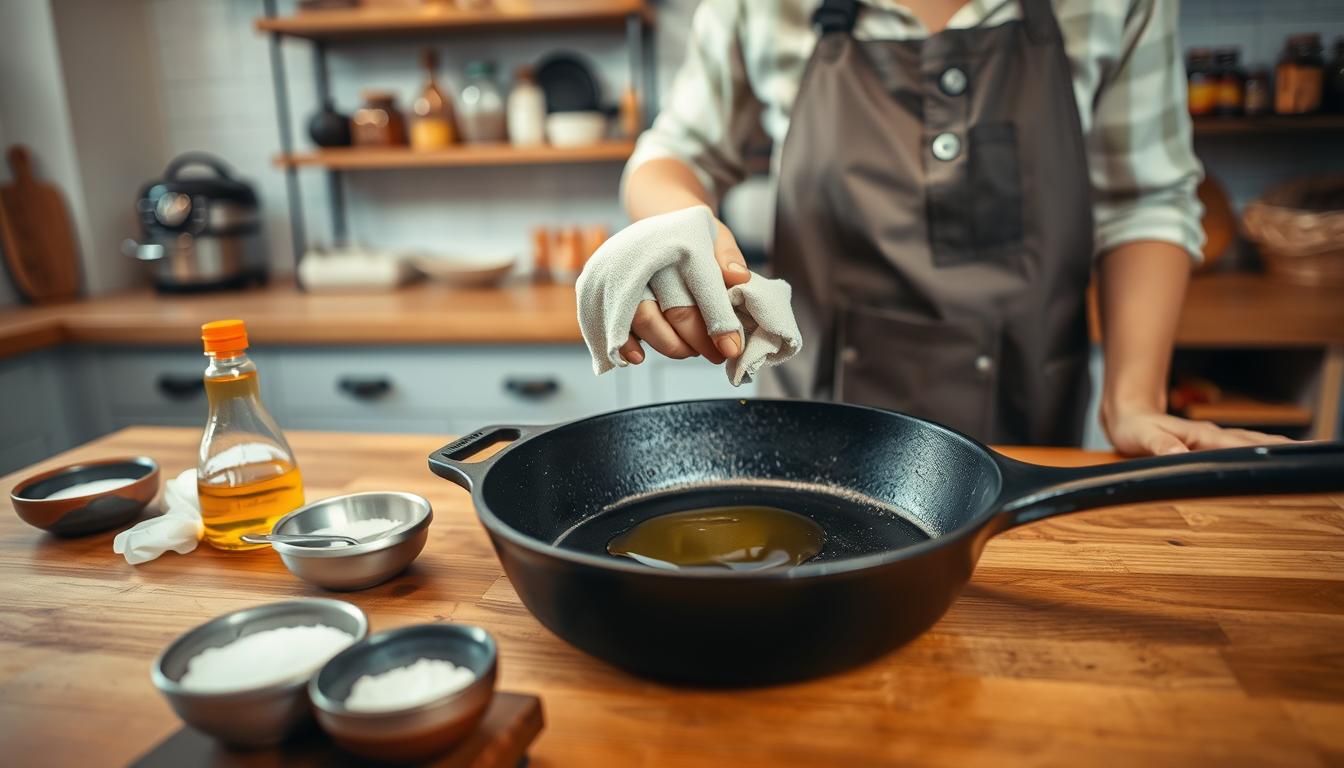
Step 2: Apply a Ridiculously Thin Layer of Oil
This is the step most people get wrong. More oil does not mean better seasoning. It means a sticky, gummy mess.
Pour a small amount of your chosen oil onto the pan — less than you think you need. Use a lint-free cloth to rub it into every surface: the inside, the outside, the handle, the bottom. Then take a clean, dry cloth and wipe it all back off.
Your pan should look almost dry when you’re done. If it looks shiny or wet, you’ve left too much oil. Buff it down until it barely looks oiled at all. This thin film is exactly what bonds correctly in the oven.
Step 3: Into the Oven, Upside Down
Preheat your oven to 425°F (220°C).
Place your oiled skillet upside down on the middle rack — this prevents any oil from pooling in the pan and creating drips or uneven patches. Put a sheet of foil on the rack below to catch any drips.
Bake for one hour.
Heads up: it will smoke. That’s normal and actually a good sign — the oil is hitting its smoke point and beginning to polymerize. Turn on your kitchen fan and crack a window. Don’t panic.
Step 4: Let It Cool in the Oven
When the hour is up, turn off the oven and leave the pan inside. Don’t rush this part. Letting it cool slowly helps the seasoning harden fully into the surface — pulling it out too early can weaken the finish.
Once it’s cool enough to handle, take a look. The surface should look slightly darker and feel smooth to the touch.
Step 5: Repeat — At Least 2 to 4 Times
One round is a starting point, not a finish line. A truly reliable non-stick surface comes from building up multiple thin layers.
Repeat the oil → wipe → bake → cool cycle at least two to four times for your initial seasoning. It’s a bit of an afternoon project, but the payoff is a pan that performs like a dream from day one.
A well-seasoned pan will look:
- Dark (not grey — deep, rich brown or black)
- Smooth and consistent across the surface
- Slightly shiny, but not sticky or wet
If it looks patchy, dull, or tacky, it needs another round.
Troubleshooting: When Things Go Sideways
Sticky or gummy after baking? Classic sign of too much oil. Don’t throw in the towel — just bake the pan again at 425°F. The extra heat will help burn off the excess and set the layer properly.
Small beads of oil visible after baking? The surface wasn’t clean or dry enough before oiling. Give it another wash, dry it completely, and start the seasoning cycle again.
Uneven or blotchy appearance? Just keep layering. Consistency wins over time. Two more rounds will smooth it right out.
Keeping It Great: Day-to-Day Care
Seasoning your pan once is just the beginning. Here’s how to keep it in peak condition:
- Clean while still warm — it’s easier and gentler on the surface
- Mild soap is fine occasionally — despite the old myth, a small amount won’t ruin a well-seasoned pan
- Dry it completely every single time — never let it air dry or soak in water
- Heat it on the burner for a minute after washing — this drives out all moisture
- Apply a thin wipe of oil before storing — keeps the surface protected between uses
Cooking fatty foods (bacon, seared steaks, sautéed vegetables in oil) naturally adds to your seasoning over time. The more you cook with it, the better it gets.
A Note on Different Pans
Not all cast iron is the same, and the approach can vary slightly:
- Lodge and other modern mass-produced pans have a slightly pebbled surface from sand casting. They take a few more rounds of seasoning to get silky smooth.
- Vintage pans (pre-1950s) were machine-polished and have a naturally smooth finish that accepts seasoning fast.
- Boutique brands like Field Company use modern machining to replicate that vintage smoothness — they season quickly and beautifully.
If you’re working with a raw or restored vintage pan, be extra diligent about thin oil layers. Smooth surfaces are more prone to pooling.
The Bottom Line
Seasoning a cast iron skillet for the first time comes down to three things: clean metal, thin oil, consistent heat. Get those right and you’re building a cooking surface that only gets better with every meal.
There’s something deeply satisfying about cooking on a pan you’ve built yourself — not bought pre-made, not sprayed with synthetic coating, but genuinely earned through process and patience. That’s what cast iron is all about.
Now get that oven going. Your skillet is waiting.